
[August 2026 edition]
How to Embed VHS in Astro
Published: Aug 17, 2026
Reading time: ~7 min
When explaining terminal operations in a blog, pasting commands into a code block does not always make it clear where input happens or what result appears.
That is why we introduced VHS, which shows both command input and output. We made it possible to embed VHS-generated demos in Astro Markdown articles. This is a case study of that work.
What is VHS?
VHS is an open-source terminal tool that actually runs the commands written in a .tape file on a virtual terminal and records the screen to generate GIF, MP4, WebM, or PNG output. Typing speed, wait times, and screen size can also be specified in the tape.
What appears on screen is the actual output of the commands. Unlike a screen recording driven by hand, a tape holds what to type, how fast to type it, and how long to wait, so every recording reproduces the same input. Typos and uneven pacing never make it into the footage. The same tape can produce an MP4 for the blog, a GIF for X, and a PNG showing the result.
The demo in this article was generated in the same way.
VHS can also write the final terminal contents to a text file by specifying .txt or .ascii in Output.
Separating VHS generation from Astro display
This blog is a static site. Astro writes every page out as HTML at build time, and that is all we serve. No server-side code runs when a reader makes a request.
VHS is a command-line tool that runs the commands written in a .tape file and uses ttyd, Chromium, and ffmpeg to write out video files. The build is the only place it can run.
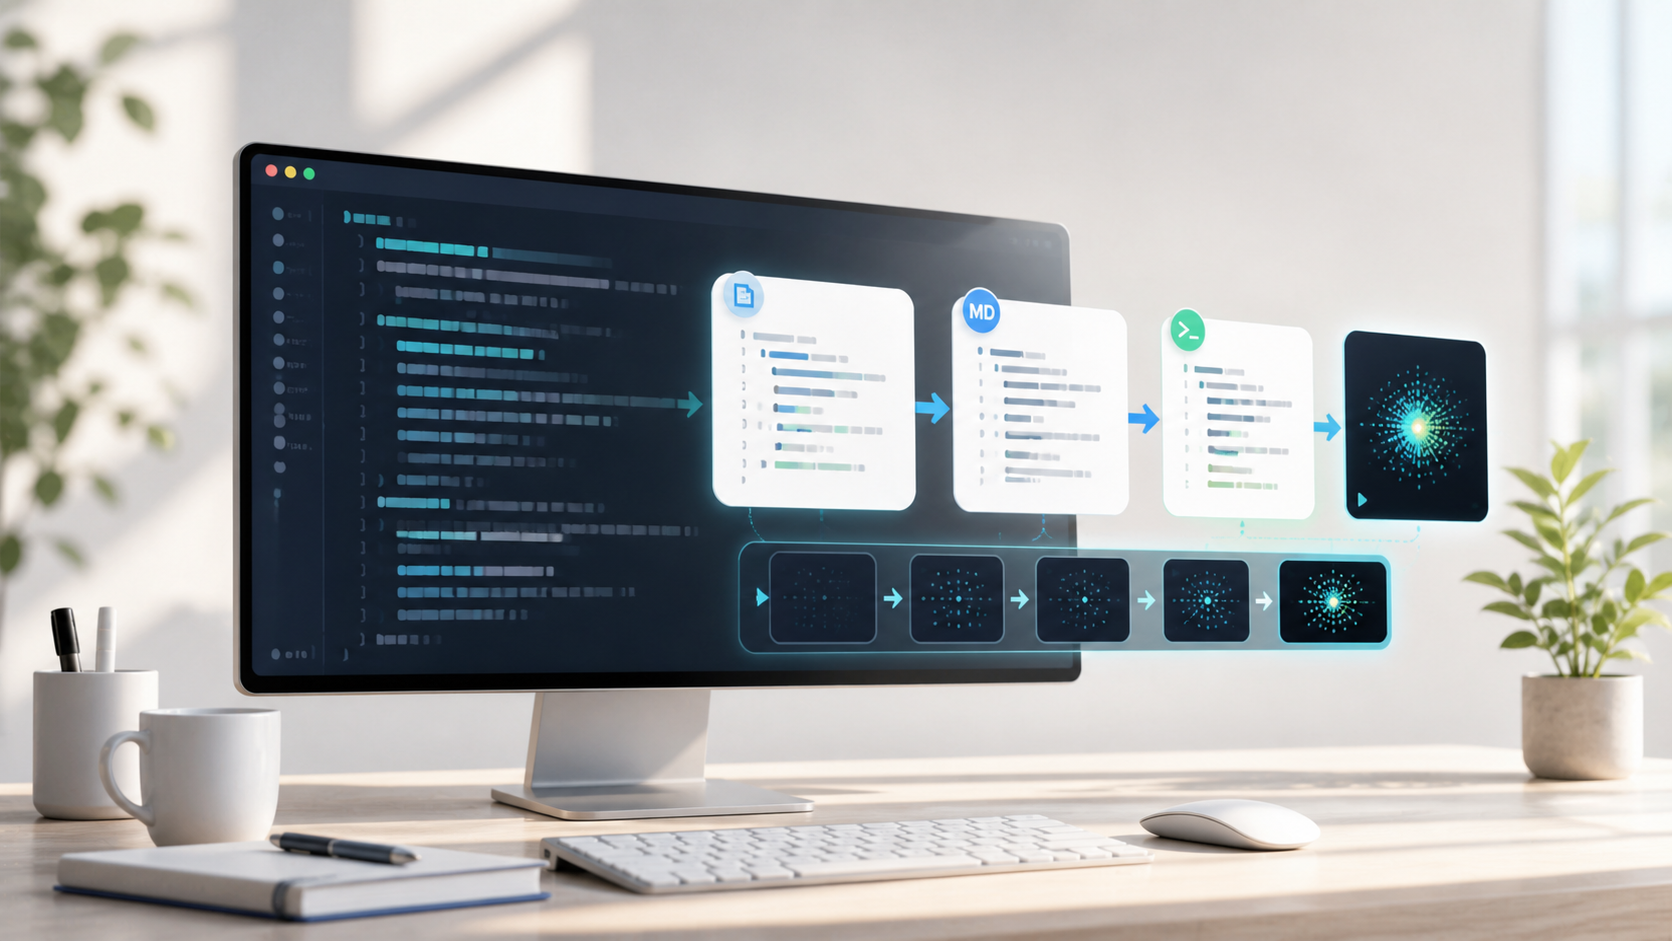
So we split media generation with VHS and media display in Astro into two stages.
- Run the VHS tape in a virtual terminal to generate video, GIF, PNG, and text files.
- In Astro’s Markdown processing, convert the generated media into HTML and display it.
Creating output from a VHS tape
As an example, we create a terminal demo from a tape using echo to show the flow of input, processing, and results.
Output demo.mp4
Output demo.gif
Output demo.txt

Require echo
Set Shell "bash"
Set Width 960
Set Height 540
Set FontSize 22
Set Padding 8
Set CursorBlink false
Set Framerate 10
Set TypingSpeed 65ms

Hide
Type "clear"
Enter
Type "echo 'analyzing sample-project...'"
Enter
Sleep 1s
Type "echo 'files: 42  dependencies: 8  status: ready'"
Enter
Sleep 2s
Screenshot demo.png
Show
In this tape, we use Set Width and Set Height to specify the terminal size, and Type, Enter, and Sleep to represent input and processing time.
For this blog, we generate MP4, GIF, and PNG at this size and preserve their aspect ratio when displaying them.
The generation script decides whether to record a tape again. The repository-root
.vhs-render-manifest.json stores SHA-256 metadata for each tape, its Source
files, the tape’s Dockerfile, and its generated artifacts. A tape is rendered
again only when that content or an artifact changes, so a Git clone does not
re-record everything just because checkout changed file timestamps.
We use Output to generate the video, GIF, and text files, and Screenshot to generate the poster image.
Displaying media in Astro Markdown
For embedding media in an article, we added a code block whose language is video. This is not a built-in Astro feature; we implemented a remark plugin that processes the Markdown. When the plugin finds a code block marked video, it reads the contents and replaces the block with the HTML for display. All we write in the block is the URL of the media; the plugin never runs VHS or generates media from a tape.
```video
src: /videos/astro-vhs-blog/demo.mp4
```
The HTML it produces is a figure containing a video element for video, or an img element for GIF and PNG. Files generated by VHS and files prepared by another method can use the same display component when specified with src. Titles, captions, copying, and smartphone layout are handled by this component.
Switching the VHS recording environment
We made the recording environment selectable between running on the host and using a container with fixed dependencies.
This lets us use host commands for local checks, while recordings with environment-sensitive commands such as package installation run in a container with fixed dependencies.
The Vercel build problem and workaround
This site was initially deployed by connecting the GitHub repository to Vercel and using Vercel’s CI/CD as provided. Vercel deployments automatically run the Astro build, and VHS generation ran as part of that build. However, the Chromium launched by VHS on Vercel could not load libnspr4.so, so recording failed.
When we investigated the error, we found that VHS rendering requires ttyd for the virtual terminal, Chromium for drawing the screen, ffmpeg for converting the recording, and the native Linux libraries loaded by Chromium. Vercel’s build environment could not reliably provide all of these native packages for recording, so we reconsidered running VHS there.
We moved VHS generation and the Astro build into a fixed Docker environment run by GitHub Actions, then pass the completed static files to Vercel as a Prebuilt Deployment. The container includes VHS, ttyd, Chromium, ffmpeg, and the required Linux libraries, and GitHub Actions reuses its unchanged layers from the cache. Vercel does not run VHS; it only deploys the completed static files.
Displaying video, GIF, and PNG
We provide attributes for the media, description, and playback controls in this display component. format switches between a video player, GIF, and PNG; title and caption add descriptions. We kept other code blocks and Markdown displaying as before.
To keep the display safe, we limited media URLs to site-relative paths or HTTPS. We reject javascript:, data:, control characters, and quotes that could break an HTML attribute, and escape article values when displaying them. This prevents article settings from being interpreted as unintended HTML.
Specify the file to display and its description in the Astro Markdown file as follows.
```video
format: video
src: /videos/astro-vhs-blog/demo.mp4
webm: /videos/astro-vhs-blog/demo.webm
poster: /videos/astro-vhs-blog/demo.png
title: Project analysis terminal demo
caption: Run a command and display the analysis result
```
Use src for the video or image, and add descriptions with title and caption. WebM, a poster image, and a fallback URL can be added when needed.
Playback controls, looping, muted playback, and in-page playback on smartphones are enabled by default, while autoplay is enabled only when specified.
format switches the display format.
| format | Display | Suitable for |
|---|---|---|
video | Video player | Interactive controls, posters, MP4/WebM, longer demos |
gif | Repeating image | Short, silent loops for X and quick checks |
png | Still image | Saved results and video posters |
We made alt available for describing GIF and PNG content.
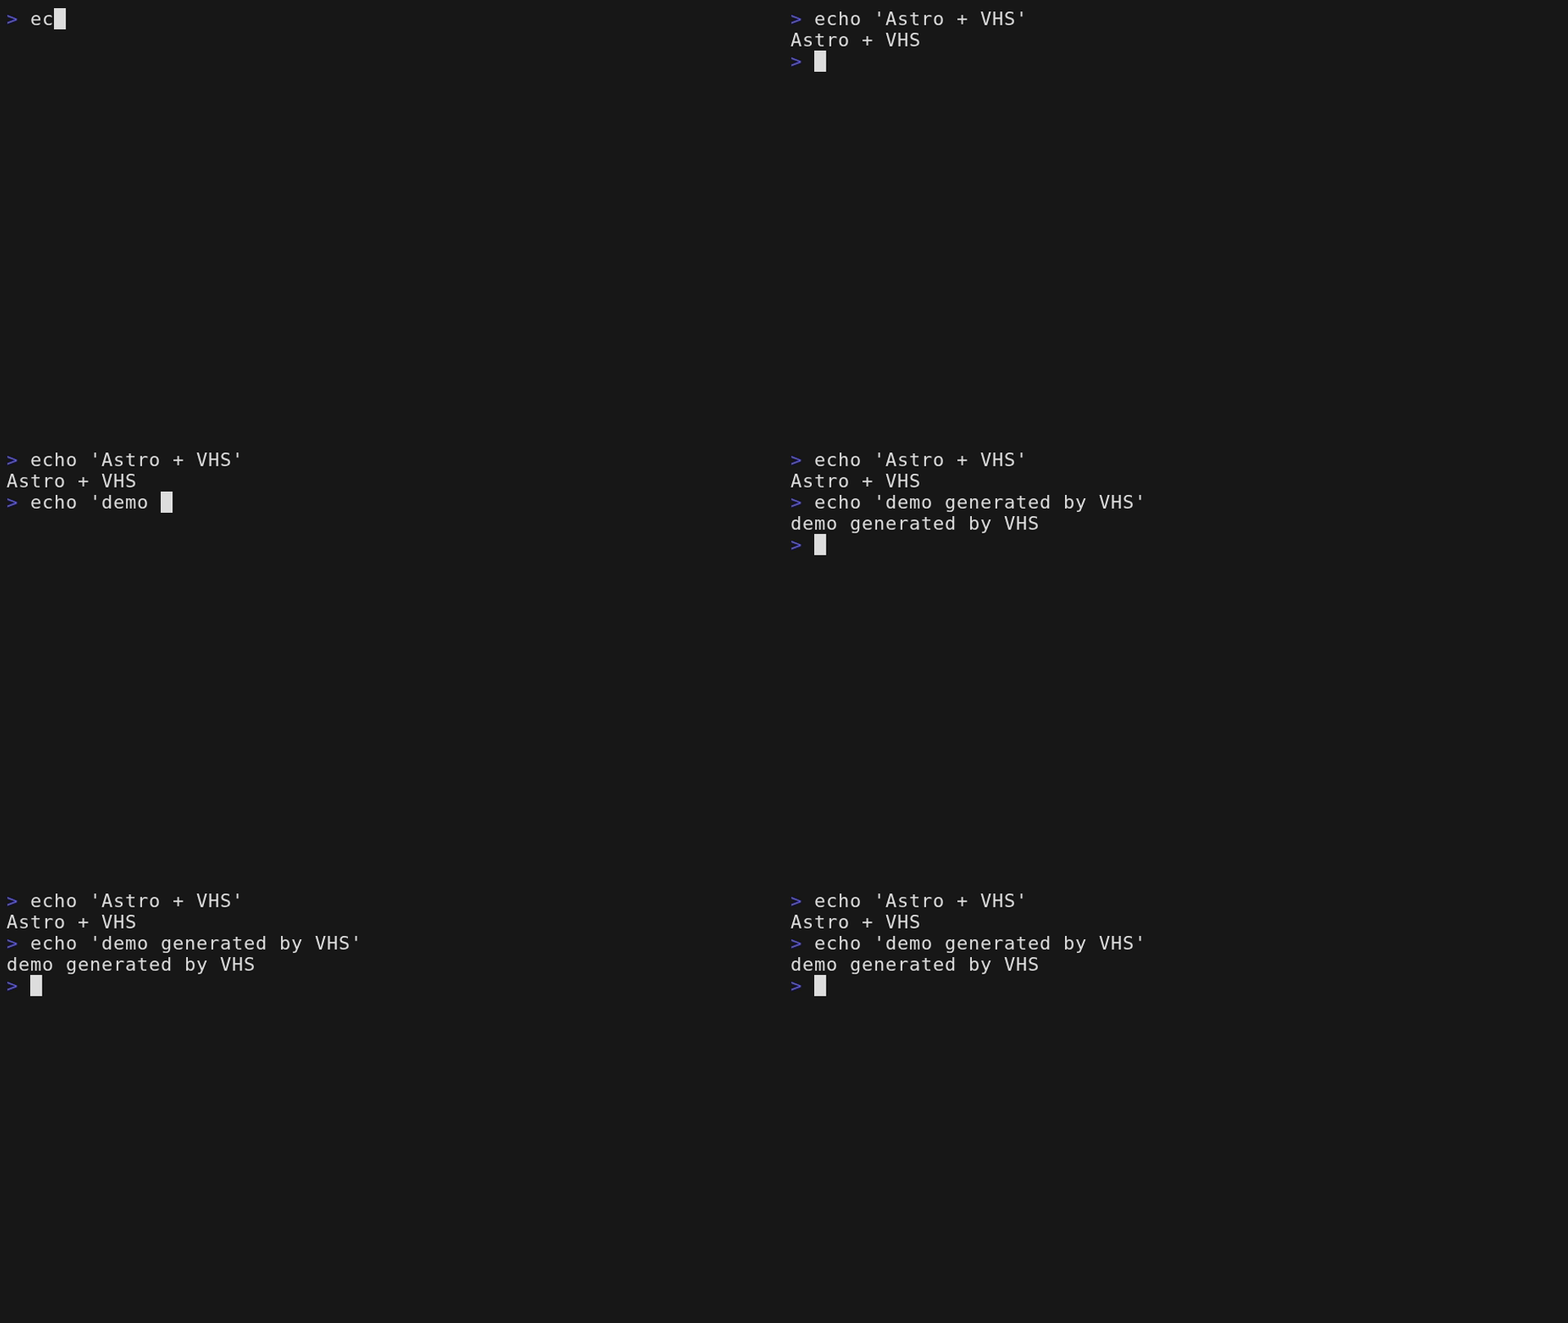
Here is the rendered GIF example.
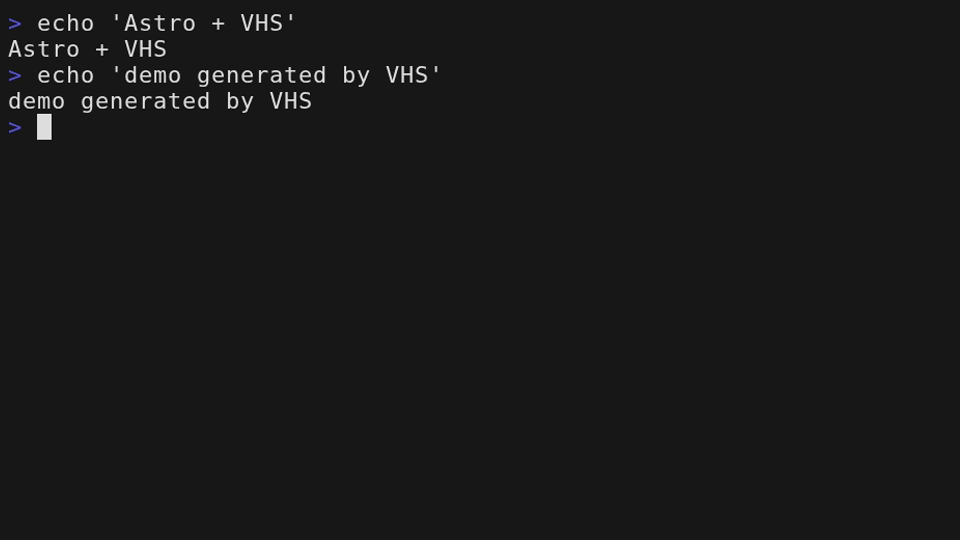
Here is the rendered PNG example.
We adjusted the CSS in Blog.astro so that videos and images match the article width and fit within the viewport on smartphones.
Copying
The copy feature uses the same copy-icon UI in the upper-right corner of videos, GIFs, and PNGs. Hovering over it expands the label to show whether it copies the input or the result. After copying, the button temporarily shows “Copied” and then returns to its original label.
First, to copy input commands, specify tape in the video block in the Astro Markdown file. We extract only the commands from the tape’s Type lines so they can be copied.
```video
src: /videos/astro-vhs-blog/demo.mp4
tape: tapes/astro-vhs-blog/demo.tape
```
To copy the command result, specify the text file generated by VHS with text. If both tape and text are specified, tape takes precedence, so the button copies the input commands.
Example of how this site manages VHS outputs
The following is an example of how this site groups a tape with the files generated from it.
tapes/
└── <demo-name>.tape

public/videos/<article-slug>/
├── demo.mp4
├── demo.gif
└── demo.png
Updating only the video file makes it hard to tell which steps and settings produced it. That is why we keep the tape together with the files generated from the same demo.
Summary
We generate MP4, GIF, and PNG files from VHS tapes and display them in Astro articles with a video code block. We also added format switching and a button in the video area for copying input commands. The VHS command result can also be copied when needed.
Thank you for your continued support of the Asopi Tech site.